Monsterfeest
Vak Kunsteducatie, beoordeeld door Pieter Van den Broeck.
Voor de eindopdracht van Kunsteducatie maakten we een overzicht van alle voorbeeldlessen die Pieter had gegeven. Die lessen heb je al kunnen lezen in de vorige blogposts, of je vindt ze terug in deze powerpointpresentatie! Daarnaast werden we uitgedaagd om zelf een beeldende kunstles te ontwikkelen. Ik vond inspiratie in verschillende lessen uit het PO & PKV-programma aan de KdG en kwam op het volgende idee: een Monsterfeest! De leerlingen maken hun eigen monster van uitgeknipte vormen en splitpennen, om ze daarna samen te brengen voor een groot feest en ze te laten dansen via stop-motion!
Stap voor stap:
Opwarming: We starten met een bewegingsoefening en spel om elkaar te leren kennen en een gevoel van veiligheid en vertrouwen te creëren. Op de achtergrond speelt elektronische muziek terwijl we de kring rondgaan. De leerkracht begint door als een robot naar de klas te zwaaien en zijn of haar naam te zeggen. Daarna maakt de leerkracht een robotachtige beweging die alle leerlingen nadoet links ervan nadoet. De leerling links van hem voegt er een eigen gekke robotbeweging aan toe en zegt zijn of haar naam. Zo gaan we verder totdat elke leerling aan de beurt is geweest en de bewegingen zich opstapelen. Tegen het einde hebben we een volledige robotdans, die we daarna samen als groep proberen te herhalen!
Introductie van het thema: Zodra alle leerlingen terug aan hun plaats zitten, worden ze verdeeld in groepjes van vier. Elk groepje krijgt een iPad met beelden van de kunstenaar Julian Curi. Ze krijgen ongeveer tien minuten om zijn YouTube-kanaal te verkennen. Daarna volgt een korte klassikale bespreking over zijn werk, en vertel ik hen dat we ook een korte stop-motionvideo gaan maken met onze eigen wezens. Ik toon mijn eigen voorbeeld en leg uit dat we eerst elk ons eigen dansend monster gaan maken voor het grote feest.
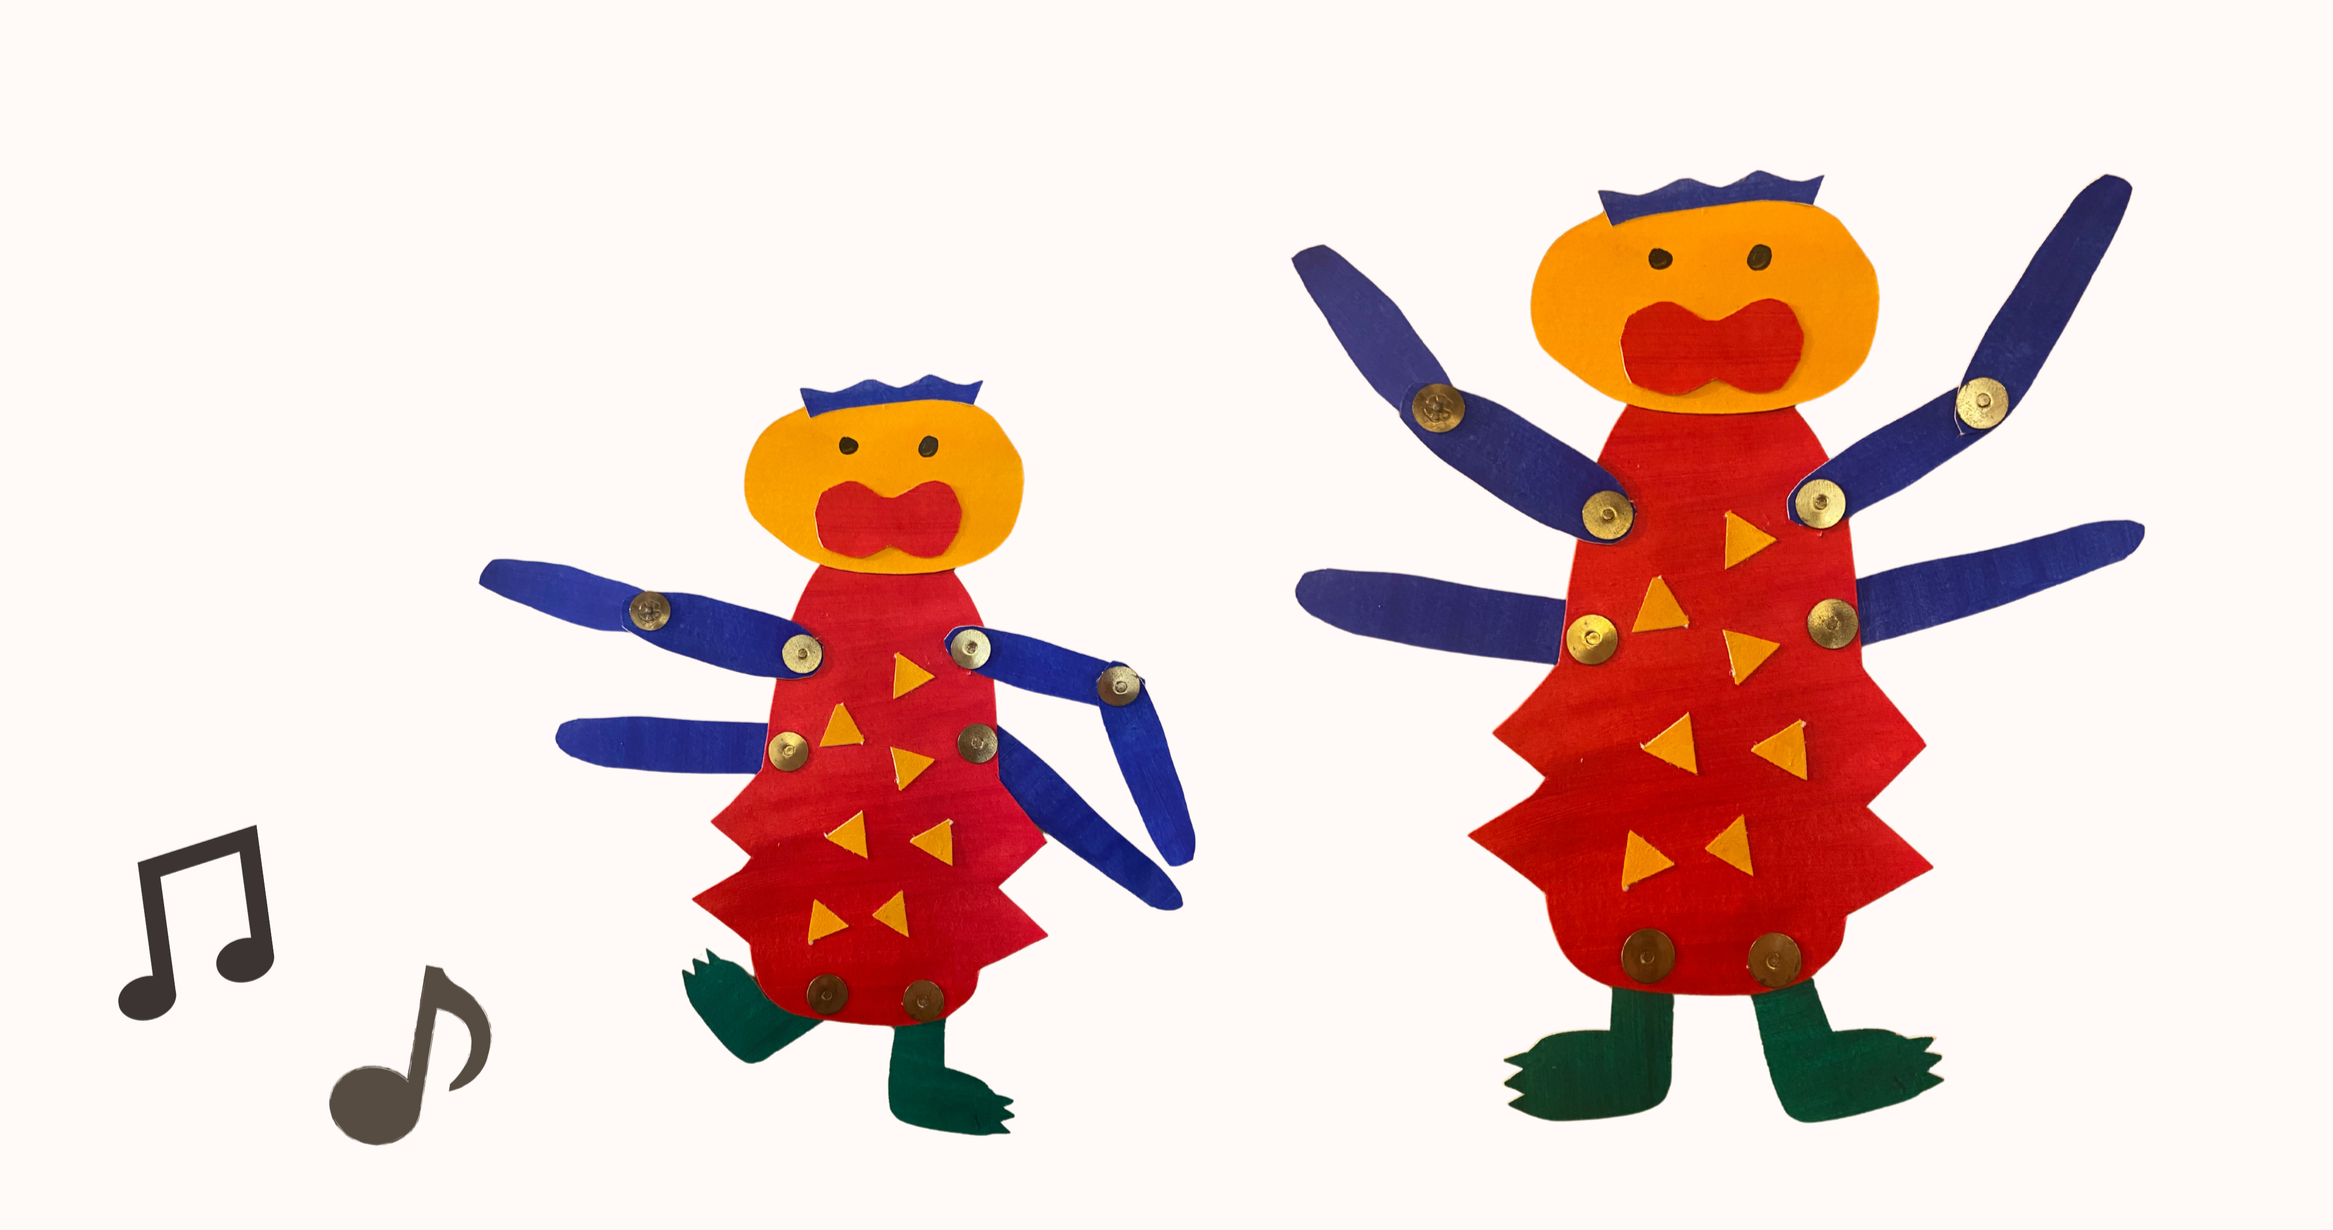
Creatieve fase: We beginnen met het uitknippen van een romp, armen, benen en een hoofd uit verschillende gekleurde papiersoorten. Daarna voegen we details toe aan onze uitgeknipte vormen. Tot slot bevestigen we alles aan de romp met splitpennen, zodat de ledematen kunnen bewegen en dansen voor de stop-motionvideo. We maken ook een discobal, lampjes, muzieknoten, vlaggetjes… en andere versieringen voor de feestelijke achtergrond. De leerlingen bespreken onderling wie welke prop tekent, zodat niets dubbel wordt gemaakt. Ze bedenken ook zelf leuke toevoegingen voor de achtergrond. Ze krijgen 45 minuten voor dit deel van de les.
Realisatiefase: Zodra alle leerlingen hun monster en props hebben afgewerkt, beginnen we met het regisseren van de video. Eerst kiezen we een liedje dat tijdens het monsterfeest zal spelen. Dit gebeurt via een democratische stemming om onnodige discussies te vermijden. De leerkracht bereidt de foto-opstelling vooraf voor. Die bestaat uit een horizontaal geplaatste telefoon met een groot zwart A3-vel eronder, dat het volledige kader vult. Dit zwarte papier dient als dansvloer voor de monsters.
De leerlingen mogen hun monsters en accessoires op het papier plaatsen, waarna ik de eerste foto neem. Daarna vraag ik telkens vier leerlingen tegelijk om hun eigen monster en één accessoire naar keuze een paar millimeter te verschuiven. Zodra alle leerlingen hun monster hebben verplaatst, neem ik een nieuwe foto. Dit herhalen we twintig keer, dus ik reken op de volledige medewerking en het geduld van de leerlingen. Voor dit proces nemen we ongeveer een halfuur. Zodra alle foto's genomen zijn en er nog tijd over is, krijgen de leerlingen de kans om zelf te experimenteren met hun iPads in groepjes van vier. Ondertussen monteert de leerkracht de foto's en voegt de muziek toe. Het eindresultaat gaat in première tijdens de volgende les.
We hangen de resultaten ook boven de kapstokken van de leerlingen in de gang, zodat iedereen zijn of haar persoonlijk klein monstertje heeft!